Ornaments & Crimes is free, open-source software (firmware) for the Ornament + Crime module. The licenses under which the software is released permit anyone to freely install and use the firmware on copies of the module, to modify it, and to provide copies to others. Third-party module manufacturers who re-use portions of the O+C software in their modules or devices should ensure that they meet the obligations imposed by the licenses under which the O+C source code is released - details are here.
Firmware upload methods
NB/FAQ: just updating the firmware (on a calibrated module) doesn’t require re-calibration — the calibration values are not overwritten when you install new versions of the firmware. Newly built modules, on the other hand, must be calibrated in order to function properly.
There are two ways of getting the firmware onto your module:
- Method A: upload a pre-compiled HEX file. this is easy and quick. or
- Method B: install the Arduino IDE and the Teensyduino add-on and compile the code yourself. this option is required if you wanted to hack the code, etc.
- either way, you’ll need: a micro-usb cable (make sure this isn’t for charging only, but data transfer).
- NB: the following steps assume that you have cut the usb trace. see here.
method A: uploading the HEX file
step 1): install the Teensy Loader program
- the Teensy Loader is available at https://www.pjrc.com/teensy/loader.html. v1.33 of the Teensy Loader or later is required.
step 2): download the binary HEX file
- download the latest released version of the Ornaments and Crimes firmware image file (.hex) from https://github.com/mxmxmx/O_C/releases
step 3): open the HEX file in the Teensy Loader
- open the HEX file in the Teensy Loader application
- make sure a USB cable is connected to the Teensy, and that the O+C module is powered up
- press the program push switch on the Teensy board (on the back of the O+C module)
- click the Program icon, or choose Program from the Operation menu in Teensy Loader
- (you should briefly see a progress bar as the firmware is uploaded)
- click the reboot icon or choose Operation > Reboot
- your O+C should now run the updated firmware (resp. come to life, if newly built)
- (note: if the loader app complains about the .hex file being “too large”, try to load this hex first, so the loader can detect the MCU, then re-try with the OC firmware hex; or proceed to method B.)
- if this is a newly built module, proceed to Calibration (just updating the firmware doesn’t require re-calibration)
method B: compiling the firmware
step 1): get the IDE + teensyduino add-on
- if you don’t have it already, you need to install the Arduino IDE as well as the Teensyduino v1.35 add-on. Note that you MUST use specific versions of these! At the time of writing, that’s Arduino IDE 1.8.1 (available from https://www.arduino.cc/en/Main/OldSoftwareReleases - just scroll down and it’s in the table) and Teensyduino v1.35 ([Mac] [Windows] [Linux]), respectively; at this point, later versions of Teensyduino (which use gcc 5.4 instead of gcc 4.8) do not work, so please don’t use them (they will cause screen corruptions). Only use Teensyduino v1.35!
step 2): clone or download the firmware source code repository to your computer
- clone from https://github.com/mxmxmx/O_C or download the .zip file.
- use the master branch (which is the default) - the master branch contains the latest “production” released code
- the develop and other branches contain bleeding-edge code which may or may not contain bugs
step 3): compile
-
once the libraries and the source code for Ornaments and Crimes are in place, you should be able to compile the Ornaments & Crimes firmware. Open the file called o_c_REV.ino. now make sure you:
- 1) select teensy 3.2/3.1 in
Tools > Board. and - 2) select No USB in
Tools > USB Type(don’t worry, you will still be able to use the USB port to upload the firmware!) . and - 3) select 120MHz optimized (overclock) in
Tools > CPU Speed. and - 4) select Faster (= o2) in
Tools > Optimize(teensyduino 1.34 and 1.35)
- 1) select teensy 3.2/3.1 in
-
things should look somewhat like this:
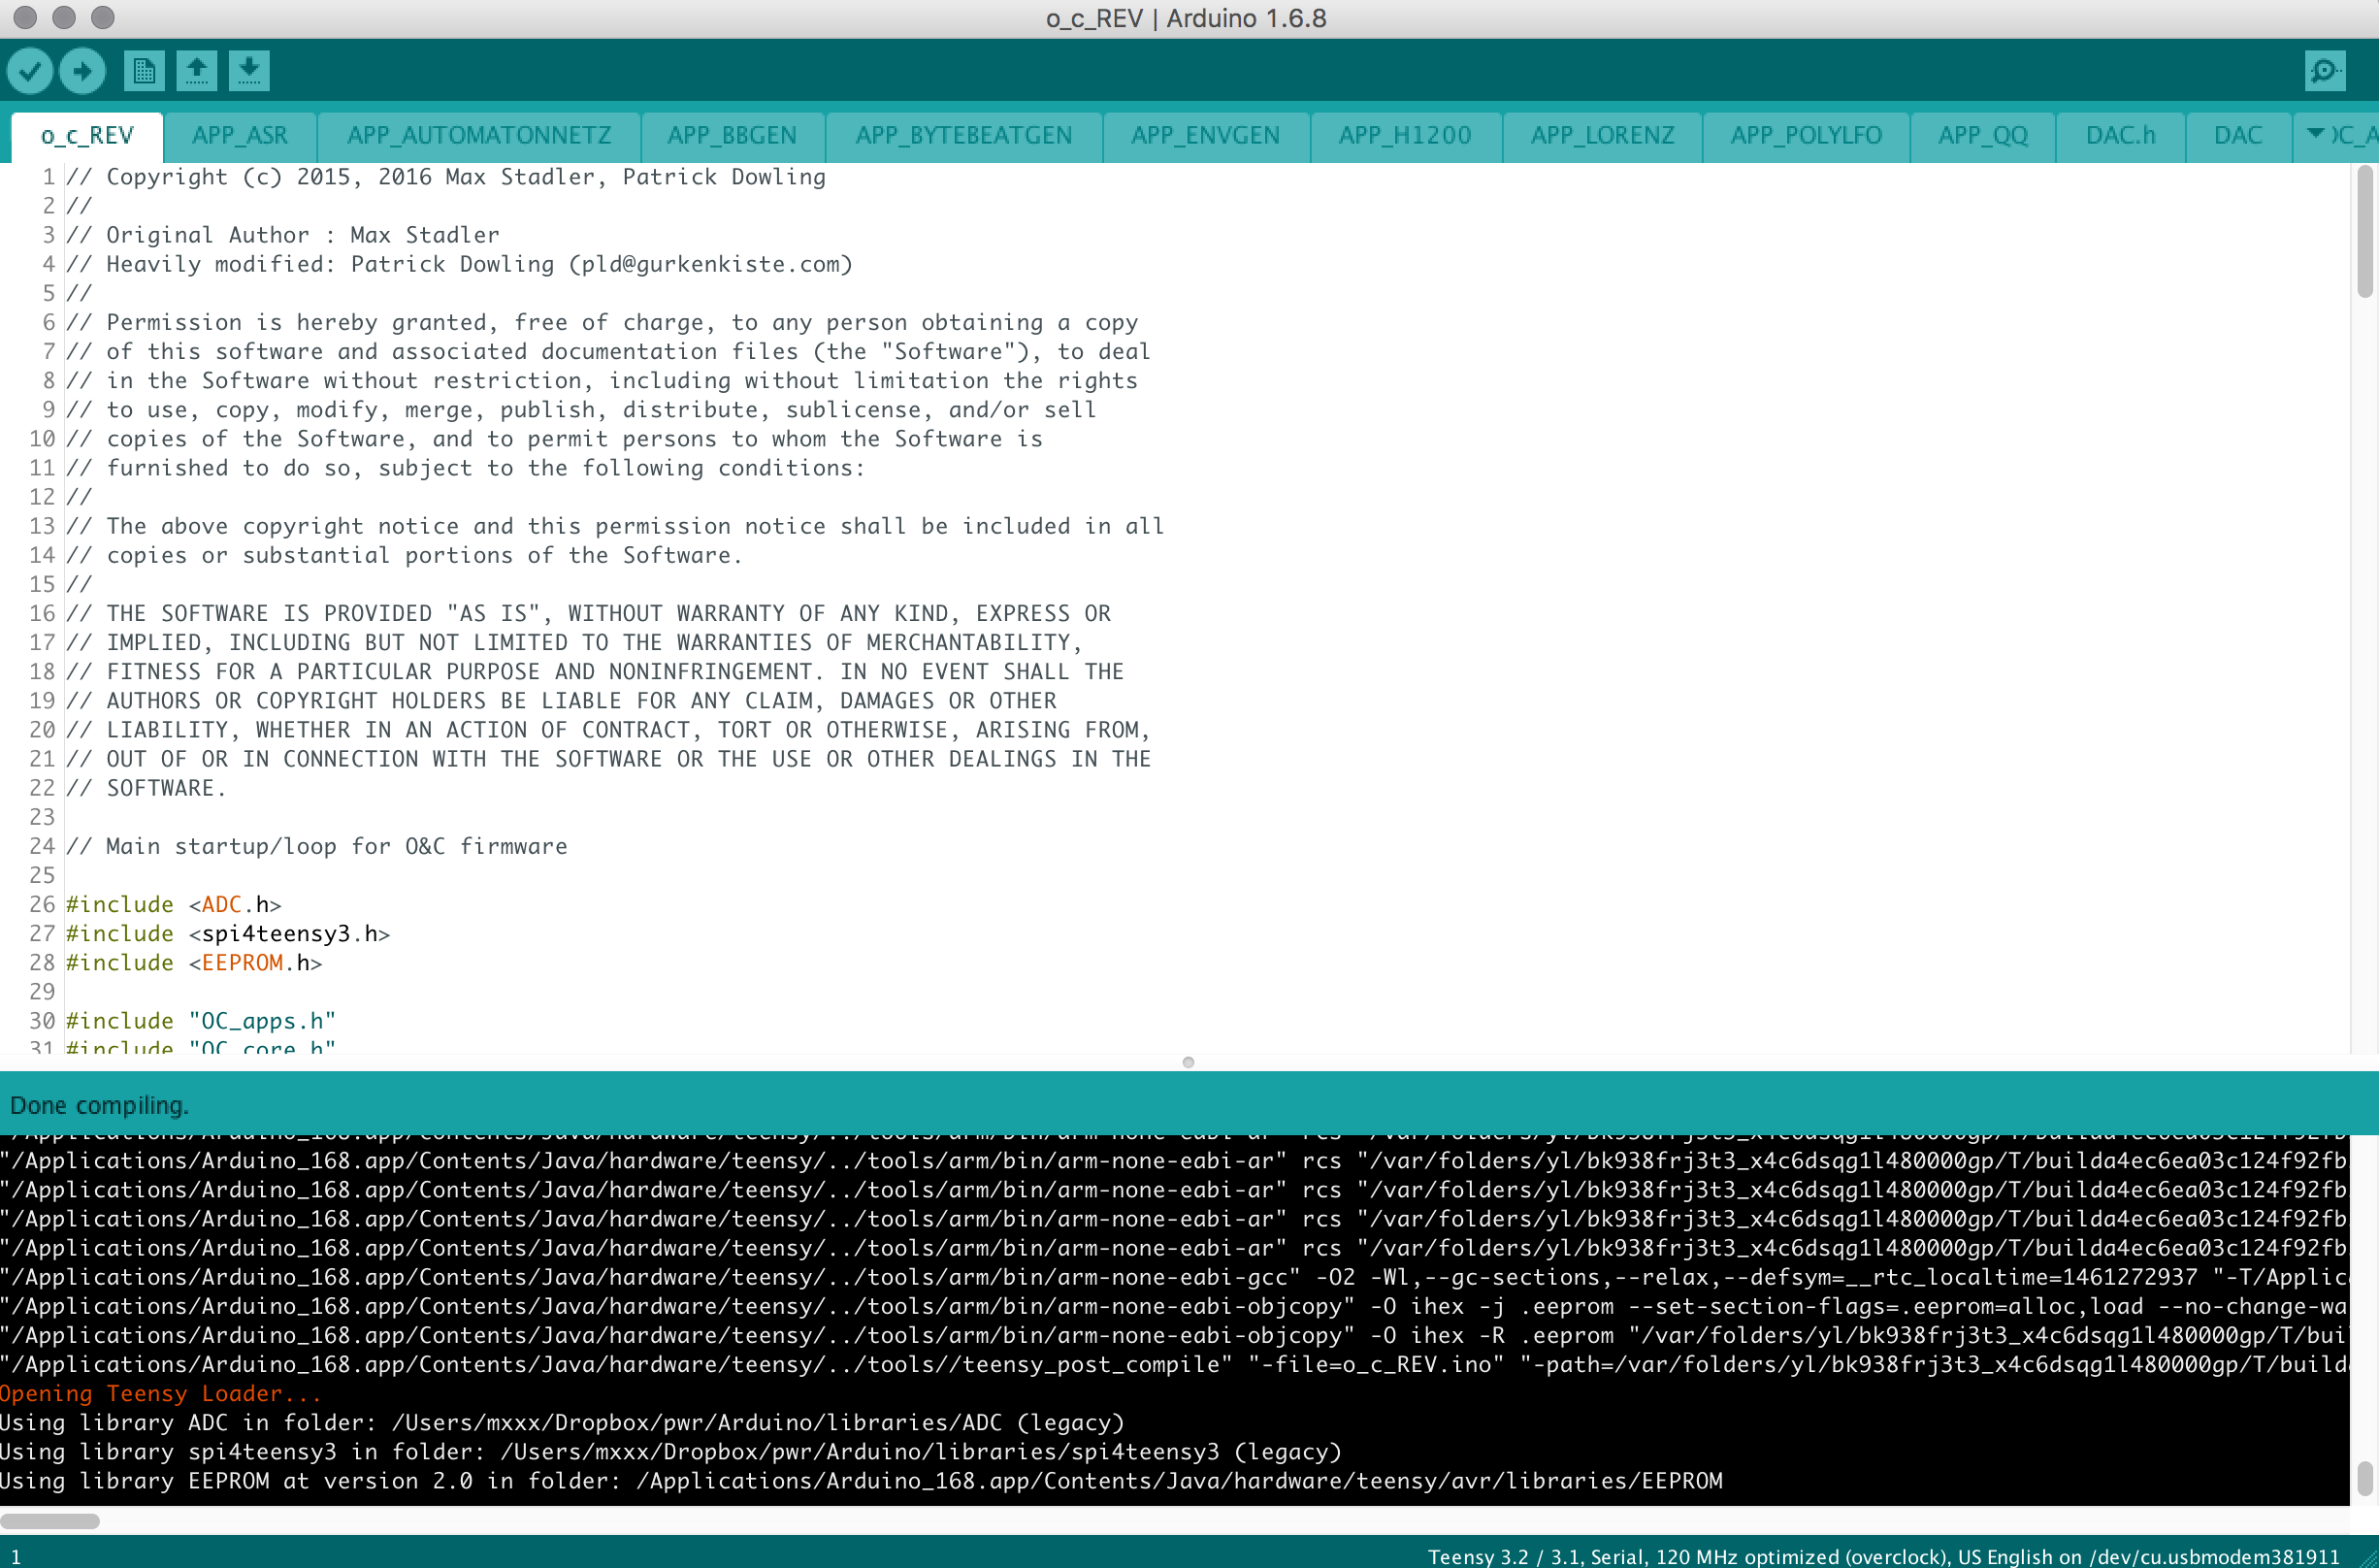
-
compile. and download to your board (since you’ve cut the usb trace, the module needs to be powered from your eurorack PSU): the display should come to life now.
step 4): calibrate
- if this is a newly built module, proceed to Calibration
- just updating the firmware doesn’t require re-calibration - the calibration values are not overwritten when you install new versions of the firmware.